Marquee Slideshow

Showing posts with label Crafty Love. Show all posts

Tuesday, April 1, 2014

Crafty Love: Pony-Os

I have been making the girl hairbows for quite some time.  I don’t do the real elaborate ones but I like having ones that match their outfits.  Some of the great tutorials are found on TheRibbon Retreat  and Girly Things 

My girls don’t wear bows as often but they do wear these pony tail holders.  I made a set for the soccer team and then also created some for their first day of Kindergarten.  So fun and simple.  Here are the instructions from the RibbonRetreat that I used:


Supplies & Tools
Ruler
Scissors
Lighter or Wood-Burning Tool
Pony O’s
Hi-Temp Glue Gun
Ribbon
Needle and thread (ready to go)
www.theribbonretreat.com is a great place to purchase ribbon.


1.      Determine how many tails you want in your Pony O. Then you need to determine what sizes you’d like to use. Here I have used a 1 ½” ribbon, a 7/8” ribbon, and a 3/8” ribbon. You can have these be as long or as short as you’d like. For this demonstration, the pieces of ribbon are 20” each. You may also have them vary in size. For example, have one be 20”, one 19”, and one 18”.
2.      You can cut the tails any way you’d like, but for this example I’ve cut them in a “V” cut. Seal the ribbon ends.
3.      Put all the ribbons together.
4.      Fold the ribbon in half with the wrong sides of the ribbon touching.
5.      Take the top part of the fold in one of your hands and hold tightly together.
6.      Take your needle and thread through the underside of the ribbon – in between the fold.
7.      Take the needle all the way through and pull until the knot stops at the back.
8.      Unfold the ribbon and lay flat, with the right side face up. Hold tightly in the center with your fingers.
9.      With your LEFT hand (if you’re Right-Handed ☺), hold the ribbon tightly. With your RIGHT hand take the thread around the top of the ribbon and towards the back. Pull the thread tightly with your right hand.
10.   Take the thread all the way around and pull, cinching the ribbon tightly in the center. Take the thread around the center quite a few times until you feel comfortable that it is secure and there is no more “give” to the thread. You will become better at this the more you practice.
11.   Now you’ll need the Pony O. Use whatever color you’d like. Also, a lot of teams can’t use the Pony O’s with the metal on them. You can find “No Metal” Pony O’s at most department stores.
12.   Turn the ribbon over to the back and place the Pony O directly on top of the ribbon – directly over the thread. The “streamers” will be going towards the left and the right.
13.   Take the thread around the center of the “streamer” and the Pony O as shown. You won’t actually poke the needle through the center of the Pony O. Just take the thread around the center. If you run out of thread, just tie it off and re-load your needle with more thread.
14.   After you are comfortable with the tightness and feel like it is secure, take up a couple of stitches through the Pony O as shown. Then tie a knot and cut your thread.
15.   This is what it should look like so far from the back.
16.   Turn it over, and this is what the top should look like.
17.   Now take a piece of ribbon and cut it at 1 ½”. Seal the edges. This will be used to cover the stitching.
18.   Turn the Pony O over to the back and place a dab of glue on top of the thread.
19.   Take one end of the piece of ribbon and place down onto the glue.
20.   Wrap the ribbon around the center.
21.   Continue to the back.

22.   Place a dab of glue in the center. Take the remaining piece and place on top of the glue. 


Come see me at these fun link parties:

  Fluster Buster Wednesday Whatsits Link Party

Tuesday, March 18, 2014

Crafty Love: Big Girls Room

This fall we updated their room to be a big girl room since they were entering Kindergarten.  They got to pick the bedding and we added bright colors for their elementary times.  I typically don't buy Pottery Barn because it is a little pricey for kids who still destroy things but they were so cute that I buckled. Luckily, they still wanted to stay in the same room which means I still have my office and craft room.

We bought some storage beds from Target and positioned them against the wall so they would have more floor space.
We made a fun LOVE sign out of tulle and painted paisleys on the wall in the bright colors to match the bedding. To gather the tulle, I just used a needle and string through the center and pulled on it to gather it.  Then it is just hot glued into place to form the letters.  I had to cut some of them so the letters were more defined as the tulle was thicker than I needed.

 I had gone to Canton First Monday (my favorite place) and seen these cork boards and chalk boards with boas around it being sold for $15-$20.  I already had the chalkboard and corkboards so just went and got some cheap boas at Hobby Lobby and glued them around the frame.  So cute.
 They wanted to keep their dollhouse that they never play with.  The art on the wall is also from Hobby Lobby and I let them pick it out.
  
 I had some shelves sitting in my closet so I painted them white and was able to paint some frames and put some fun things on them.  I love the tissue balls and globes that I hung above each of their beds.  It adds a whimsical feel.


So with a lot of paint and things I already had, the room ended up not being as large of a project as I expected and I love how it turned out. The girls love showing it off to all of their friends and they tend to spend more time in it now.

Tuesday, March 11, 2014

Crafty Love: Sharpie Mugs

Okay, we have seen these EVERYWHERE.   Trying to think of an inexpensive craft to do with kids, this came up.  The VERDICT – if you hand wash them and do not scrub, the sharpie will stick.  If you have a lipstick stain over some of the marker and have to scrub it off, you will lose your art work.

sharpie mugs

sharpie mugs


Supplies:
-        Regular sharpies
-        White ceramic mug from dollar store
-        Baked at 425 for 30 minutes (kept the mug in for preheat and cool down)


However, if you are looking for an hour of entertainment for your kids and don’t really care about “needing” decorated mugs, this craft is so much fun.


Come see me at these fun link parties:
  A Bowl Full of Lemons Nap-Time Creations Inside BruCrew Life

Tuesday, March 4, 2014

Crafty Love: Handprint Art

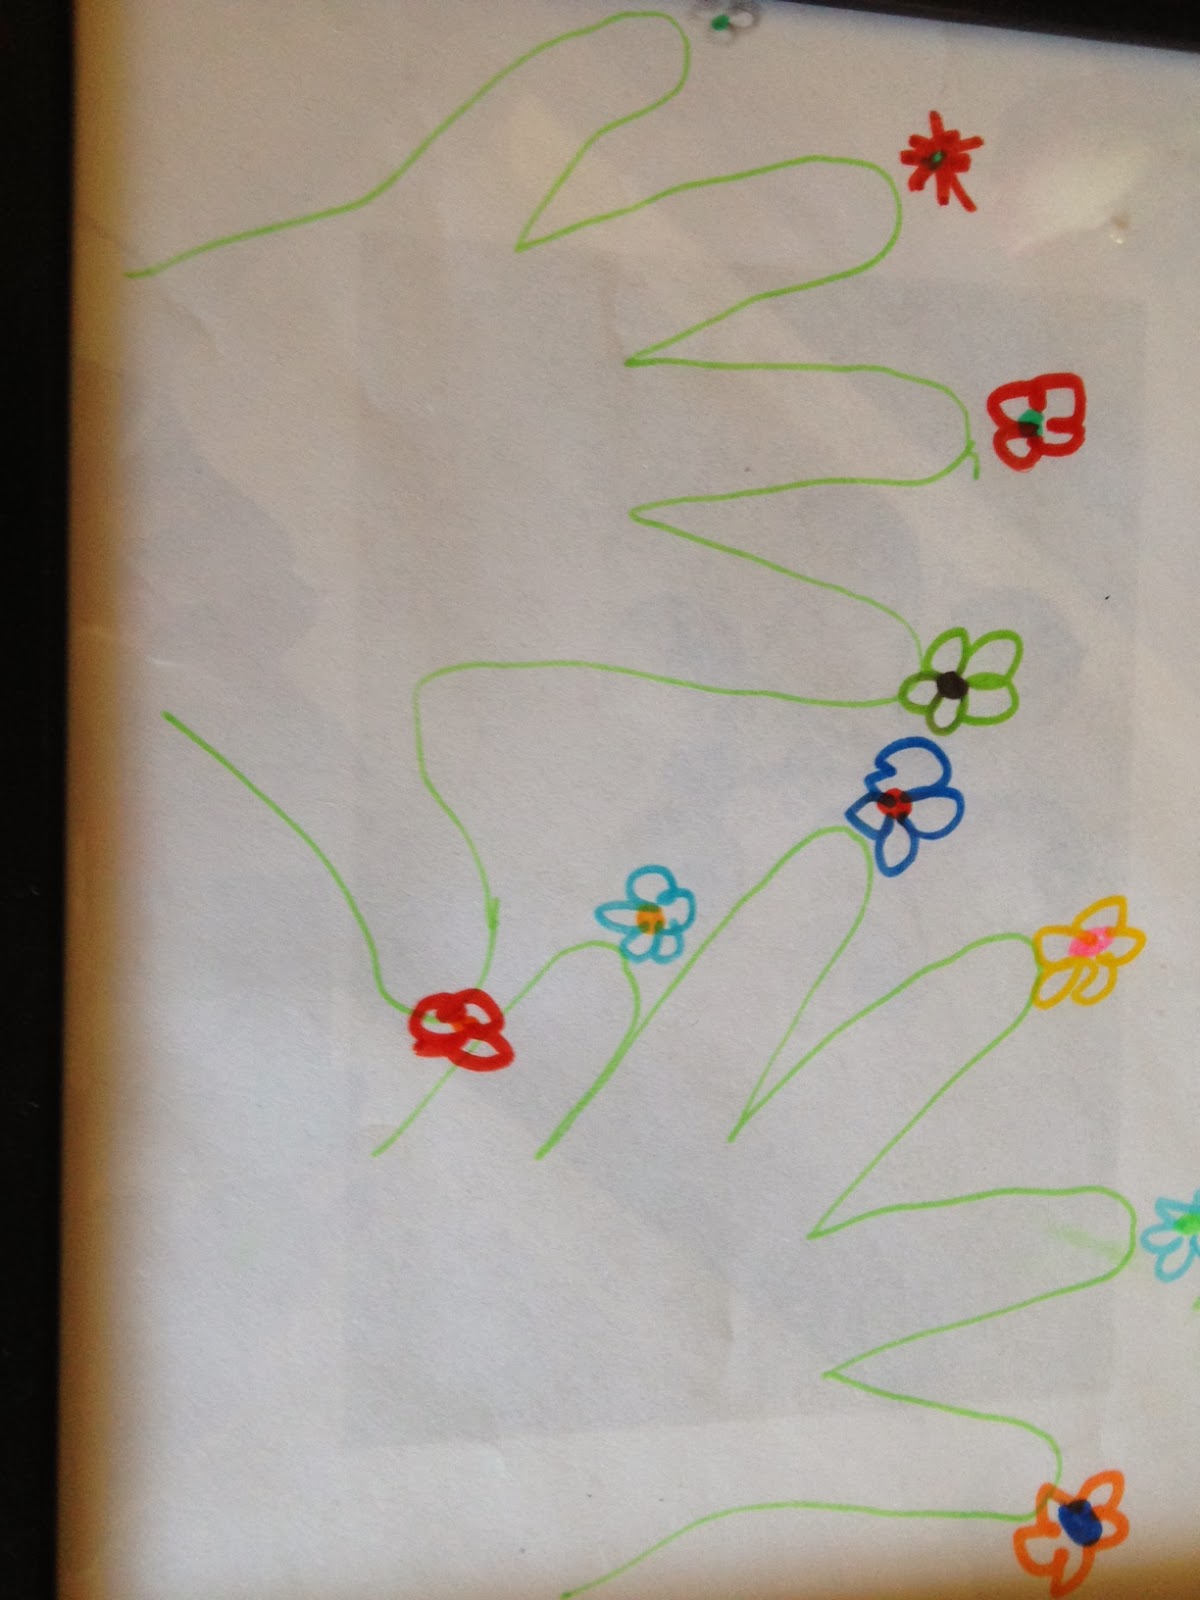
You can search this on Pinterest and find SO many different ideas.  Since my kids are still young, I am loving these.  We had a Moms and Muffins event up at school and had this as one of our crafts.  Instead of dipping hands in paint, we just had the kids trace their hands.  We had a “trial run” at our house with 4 kindergartners and a 3rd grader and they were occupied for a good hour.  It was so cute. 
handprint art

handprint art


Here are some of the pins that we used for a lot of our inspiration: 


Here are 2 of the art work that  have done with handprints that I love:
http://wanttogetcrafty.blogspot.com/2014/02/crafty-love-valentines-handprint.html


http://wanttogetcrafty.blogspot.com/2012/12/repost-handprint-christmas-tree.html

Come see me at these fun link parties:

Fluster Buster Wednesday Whatsits Link Party http://www.findingfabulousblog.com/ The Shabby Nest    Rhinestone Beagle

Tuesday, February 25, 2014

Crafty Love: TuTu Bags

This last summer we went to Grapefest in Grapevine, TX.  We take the girls and they go on rides, we drink some wine and everyone has fun.  We met our neighbors out there and had fun looking at all the crafts for sale.  We came across some cute bags and both thought “we can do that”.  Hence our TuTu Bags.
 
tutu bag
TuTu Bag
 Ballerina Bag


These were so easy, even for someone with minimal sewing experience.

Supplies:
-        Canvas Bag
-        Tulle (2-3 different colors)
-        Ribbon
-        Sewing Machine & Thread
-        Straight Pins
-        Embroidery or Heat Transfer for Monogram

Steps (we were drinking wine while we did this so didn’t think to take pictures of all steps):

  •  Pin the tulle to the front of the bag in a straight line.  We took the first color and looped leaving spaces between then and then filled the other colors in.  So really only cut the beginning and end of the tulle
    •   Make sure you don’t pin to the other side of the bag
  • Sew the tulle on the bag (again making sure you are only sewing on the front of the bag).  Trim were needed
  • Pin the ribbon to the bag on top of the tulle – we put the ribbon all away around the bag and it looked really good.  Make this as straight as possible and it can correct any crookedness of the tulle
  •   Sew the top and bottom of the ribbon to the bag – the bottom seam has to be on the tulle, the top one does not matter
  • Monogram – my girlfriend had hers embroidered, I used my awesome Silhouette and heat transferred it.


So cute!!!!
Come see me at these great Blog Parties:
  Fluster Buster http://www.findingfabulousblog.com/ The Shabby Nest   Rhinestone Beagle

Friday, February 14, 2014

Crafty Love: Valentine's Handprint

I love creating keepsakes of my girls.  They will only be small once and they are already growing up so fast.  We did this fun craft the other day after school.

kids handprint heart

Supplies:
 - Canvas (any size)
 - acrylic or tempera paint - 2 colors
 - paper cut in a heart
  - paint brush - I used the Styrofoam type

I cut a paper to a heart and taped it on the canvas.  My kids are old enough that they knew to just press down and up.  If you have younger kids, you may want to make a heart out of sticky paper or use spray glue to temporarily glue the paper to the canvas.  I poured some paint onto paper plates and then painted their hands with a paint brush.  Each girl had a color and I wrote their names at the bottom in the color they used.  I removed the heart paper when the paint was still wet as I didn't want anything to bleed or stick.  I wrote the year on the back so I could remember.

Love how it turned out.

Wednesday, February 5, 2014

Crafty Love: Valentines Wreath

Last year I got a little carried away with making wreaths for every holiday.  If you haven't used Deco Mesh yet, you have to try it.  They now sell it in every craft store when before I could only get it in Canton {{BTW - love First Monday (which isn't on Monday)}} The wreaths are so easy to do and I think they look good no matter how you do them.

Here is the one I made for Valentine's Day.  I just picked up a little plaque to go in the middle from Hobby Lobby when it was 60% off.
Valentines Deco Mesh Wreath
Deco Mesh Valentines Wreath
Here are some good tutorials on how to make the wreaths if you are interested:

http://www.pinterest.com/pin/53409945554319641/


Come see me at the following parties:

Fluster Buster http://www.findingfabulousblog.com/ The Shabby Nest   The Best Blog Recipes Rhinestone Beagle Miz Helen’s Country Cottage